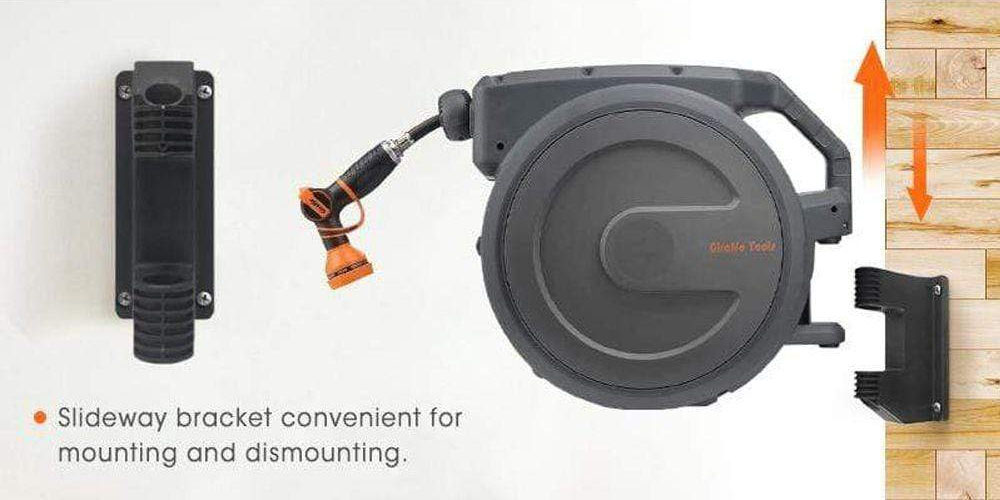
Hoses facilitate the movement of liquids like water from the water source to the intended location. Retractable hose reels help roll and unroll the hose in a short amount of time and with little effort. High-quality retractable reels like those sold on the giraffetools site need proper care and maintenance for prolonged use and durability. However, the hose shouldn’t be left out. Failure to clean and maintain it causes damages forcing you to replace it. In this article, we outline how to replace a retractable reel’s hose.
A Guide on How to Replace a Hose
Hose replacement differs depending on the expert you choose to do it. Alternatively, you can switch it out yourself and spend little to no money if you have the needed tools.
Step 1;
Pull out the hose wholly or till you reach the maximum length, then lock the rewind wheel to stop the hose from retracting. Next, reach out for the locking bars by taking out the viewing panel or lift it to gain access if the space is big enough. Then, on the auto wheel, identify few holes and place the locking bars next to the closest ones and secure them firmly before proceeding to the next step.
Step 2;
Once a hose is fitted into the retractable reel, it remains in the same position and can only be pulled out or retracted when needed. This is because it is held in position by a clamp on the auto retraction wheel. Therefore, take out the screws from both sides of the clamp and safely remove them from the inside mechanism for later use. Next, take off the white clip attached to the internal hose connector and detach the hose connector from the snap-on connection. Then, disconnect the hose connector from the hose by removing the screws and storing it safely to connect the hose with the tap or spray nozzles when necessary. Then, pull the hose out of the reel through the hole on the auto retraction guide in readiness for a new hose.
Step 3;
This step involves fixing the new hose. Ensure the size of the new hose matches that of the old for it to fit to go through all holes and connectors successfully. With the right hose in hand, use the removal process in reverse to fix the hose. Through the same guide hole, insert the hose and connect it to the hose connector within it. Clip the fitting, attach it to the snap-on adaptor, and then join the hose connector and connect it into the plastic adaptor. Screw the hose clamp back, remove the locking bars placed in the retraction unit and attach them to the wheel unit. Finally, release the auto retraction wheel by drawing the hose to start the retraction process.
Final Words
Hose replacement is easy if you understand the process and are familiar with all parts. You can also seek professional help to fix it and whichever route you take, ensure the hose is high-quality and similar to the old one.
